
HSE Recordings
Do you need to record your HSE session so you can review it later? Here’s a step-by-step guide to recording a session and saving it to the cloud.
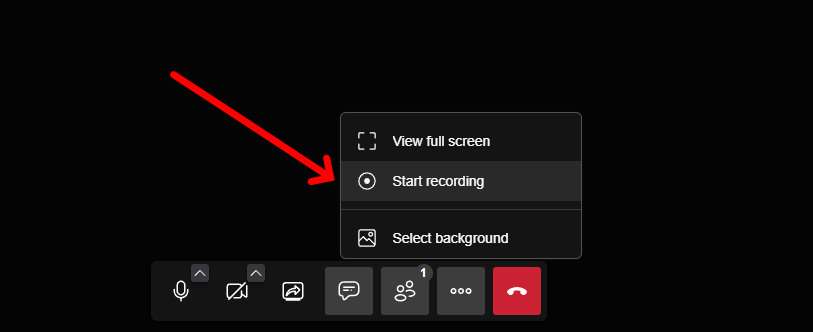
You can record HSE sessions either with cloud recording or a Dropbox account. To get started, launch your session (by clicking on your unique meeting link). In the meeting controls panel, click the “…” option and select “Start Recording.”
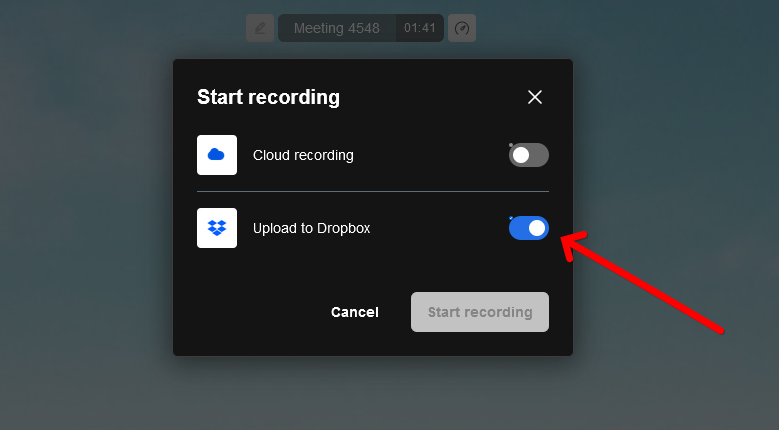
Choose whether you want to use cloud recording or connect your Dropbox account. If you choose the Dropbox option, you’ll need to securely log into your account.

You can easily connect via your Google or Apple account, or enter your email and password to sign in.
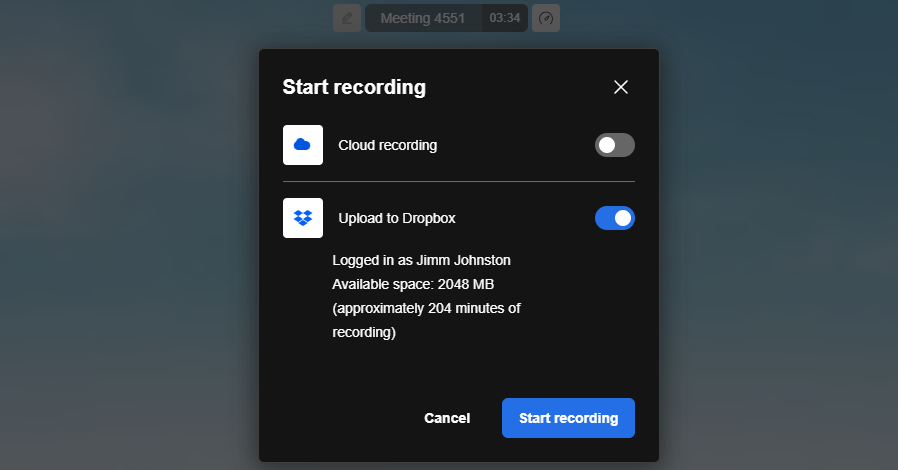
Once you’re connected to Dropbox, click “start recording.”
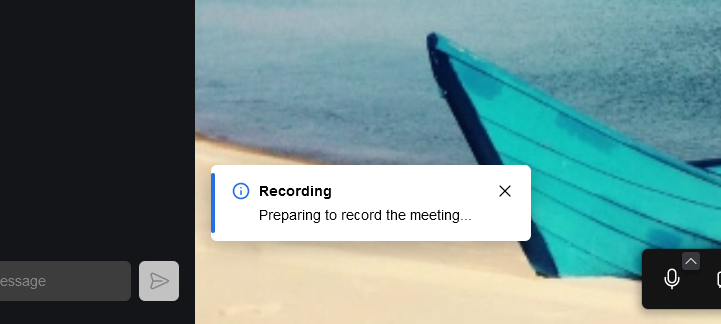
A notification will appear showing you that the Recording is about to start.

You’ll also see a red “recording” icon at the top of the meeting page, to let you know the session is being saved.

When you want to stop the recording, you can hover your cursor over this button, and click “Stop Recording”.

Click “Confirm” when the pop-up appears to end the recording. Your session data will be automatically uploaded to your Dropbox account, or to the cloud.