
Client registration tutorial
Site registration is an essential step for users to access the full functionality of a platform. The registration process should be simple and easy to follow. Here is a step-by-step guide for site registration.
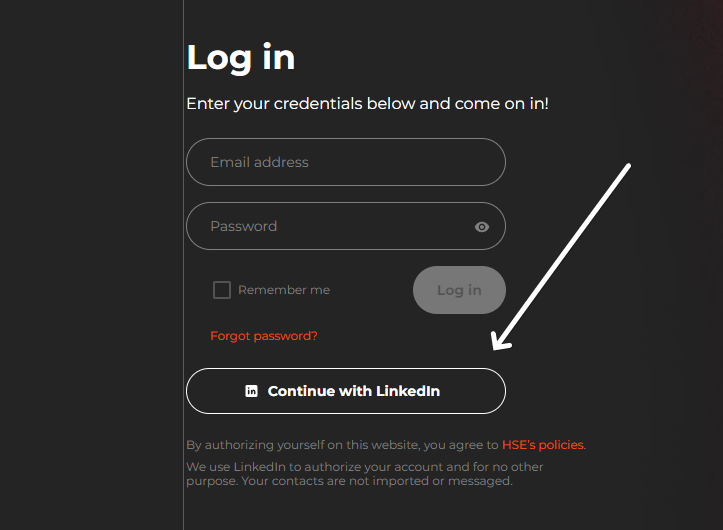
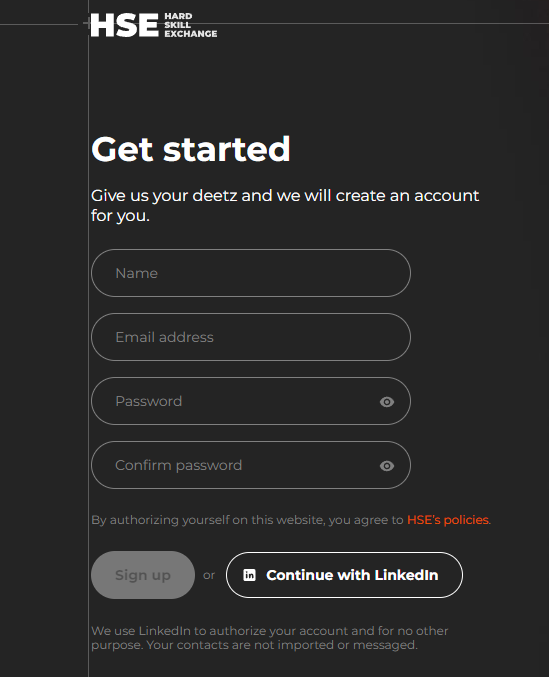
- Visit the website’s registration page: On the website’s homepage, look for a button that says “Get coached” or “Log in” and click on it, on an opened page find the “Sign up” button in the upper right corner. Click on it to access the registration page.

- You can also go through the quick registration process by clicking on the “Continue with Linkedin” button which will provide us with all the necessary information.
Provide your information: Fill in the required information in the registration form, which include your name, email address, password. Make sure to read the terms and conditions carefully before submitting your information.
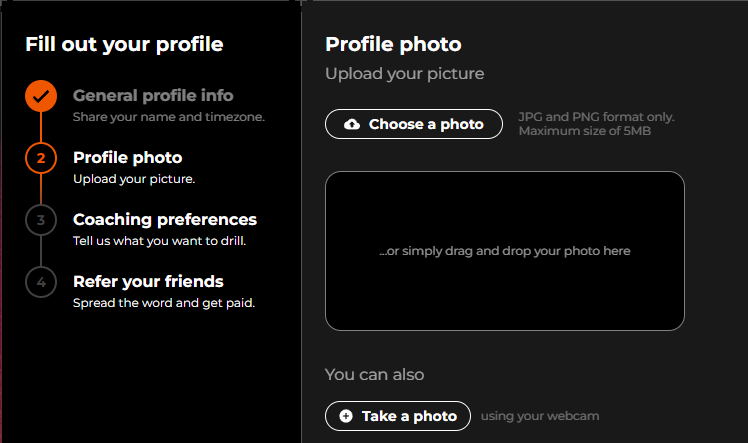
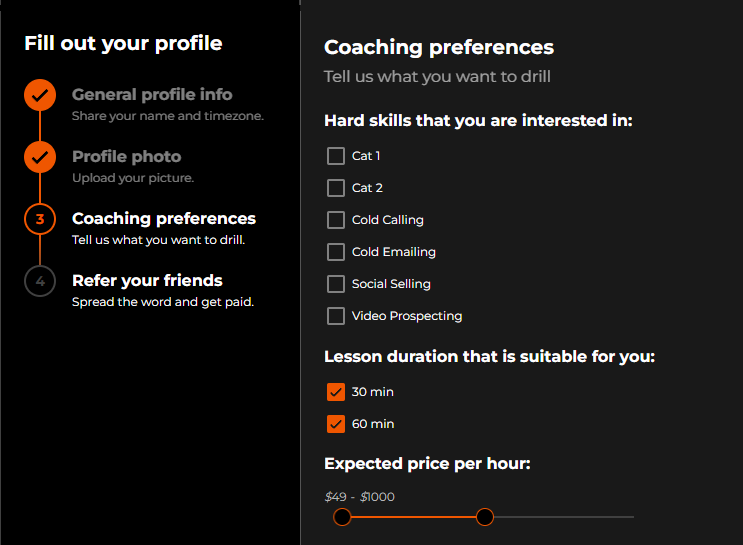
- Complete your profile: log in to the website with your username and password. You may be prompted to complete your profile with additional information, such as:
- editing your name that will be displayed and current time zone;
- connecting your Google Calendar to receive invites to your training sessions;
- uploading your profile picture;
- coaching preferences, lesson duration and expected price per hour;
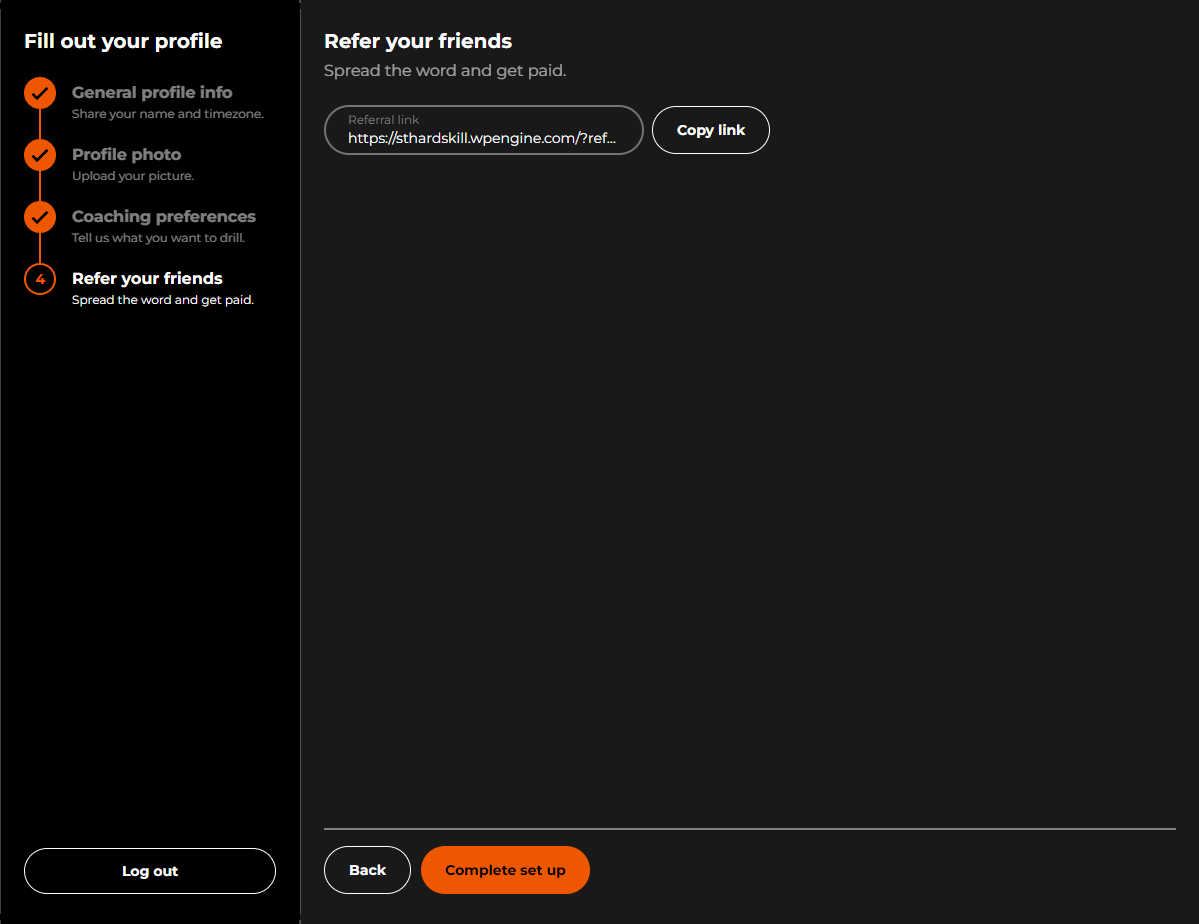
- finally – you can share your referral link with friends. For every friend that you refer to get 1:1 coaching on the platform, you will receive $30 toward your next session.
- Explore the website: Now that you have registered and completed your profile, you can start exploring the website and using its features.
In conclusion, site registration is a straightforward process that allows clients to access the full functionality of a website. By following these simple steps, you can create an account and start enjoying all the benefits of the platform.